Creating social media videos at home is a common trend nowadays, whether it is for those that are, or want to become influencers, to promote your brand, or engage and keep your audience interested through a ugc contest, or even a teacher who creates content for a class studying remotely. For whatever reason to create video content, having the know-how to create good quality videos is a must.
Your fans and customers don’t have to spend a ton of money to create a basic video filming and streaming setup. Authenticity is the most important aspect of effective social media videos and he set up for an efficient space for shooting videos can be inexpensive. This guide will serve you and for teaching your fans and customers to create the very best video content for your brand.
What You Should Consider Before Starting
There are a few things you may want to keep in mind before jumping in.
Budget. The cost of creating your own content can be expensive. How much money are you going to designate to build your filming studio at home? Considering a good quality camera, lighting and editing software, you can certainly achieve a professional outcome with around $100, consider that the quality of your equipment does have an impact on the final result. Evaluate your options, always considering the available space you have at home and your skill level.
Space. The best would be to dedicate a room, especially for your filming purposes, but if you are tight in space, you can also transform a corner of a room into your video studio area if you don’t mind sharing the space.
The outcome. What are the results you expect to get out of your video productions? What is your objective? Do you want to attract customers? Is this just a hobby? Invest in this according to your plans.
The style. Will you be speaking to the camera directly? Are you going to be demonstrating something that requires a specific point of view in camera, like gardening, cooking in the kitchen or doing yoga in a studio? Will you need any kind of props or equipment for your demonstrations? The space where you decide to set up your filming area should make sense with the expected outcome; deciding on the best scenario for your video production should be considered even before thinking about the required gear and equipment.
Filming Equipment Required for Social Media Videos
Creating social video content can be done really easy; literally, anyone can achieve a compelling social media video with a smartphone, an internet connection and an editing app. But the reality is that successful and engaging content takes some planning time. To really take content to the next level, consider investing in good quality recording equipment since it will impact the video and sound quality.
Camera
For your video studio options, you can use your smartphone since it is an easy way of recording videos, and you can achieve a basic social media type of video. But your best choice would be to have a DSLR camera as your primary shooting device and a smartphone on a tripod for a second camera view.
When it comes to the video mode of your DSLR camera, you can try different lenses. If you are looking for cinematic video quality, a 50mm lens will give you a good view for a waist up shot, but you might want to use a 35mm lens for a wide-angle shot since it can compensate for the lack of space in a room.
When considering a tripod option, go for a clamp-on design that you can mount anywhere and that offers flexibility and the capability to change the camera position easily.
Sound
Built-in microphones are usually limited in capacity and can reduce the overall outcome’s quality; therefore, external microphones are the best option if you want to achieve high-quality video production.
There are a few options to consider:
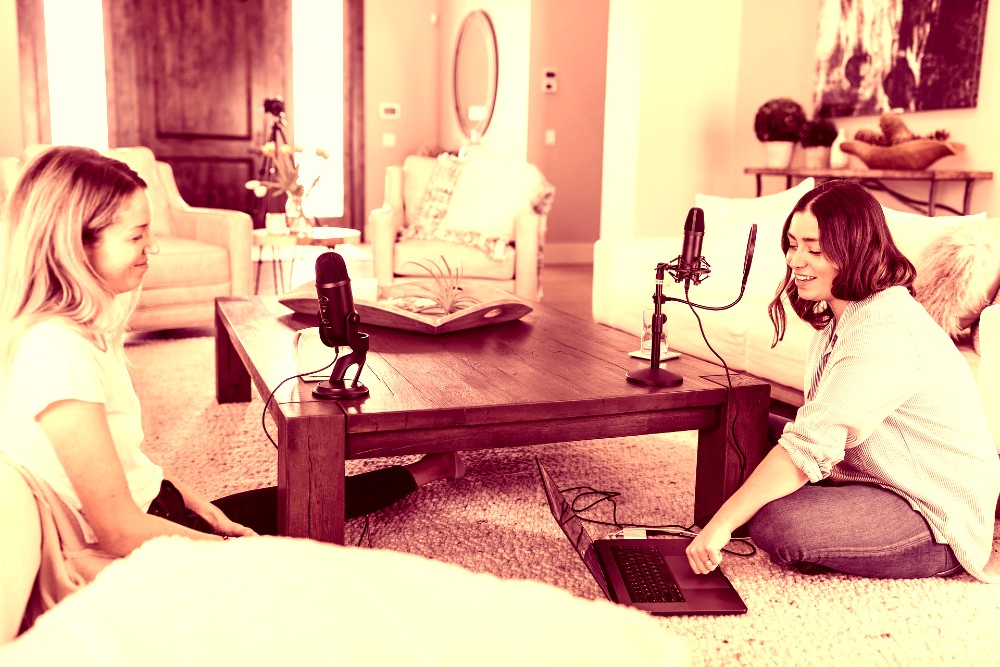
An adjustable microphone arm or a USB desktop or clamp-on can be a great option if you plan to stay still speaking directly to the camera and won’t be moving your head and shoulders much. Consider a pop filter to eliminate the POP sounds that may appear in your speech.
A wired or Bluetooth lavalier microphone is your best option if you are going to be moving around while filming.
Soundproof treatments. If you need to muffle some external sounds because your filming area has echoes, or is noisy, try to add carpeting, blankets or sound panels to the floors and walls.
Lighting
Professionals use the 3 point lighting technique for video lighting, which consists of:
- Primary illumination or Key light
- Filling light, which is used to fill in the shadows created by the primary light.
- Background light, which is used to add a three-dimensional sense to the shot.
There are other elements that you can include to help improve your lighting, such as:
- Use artificial light only, by blocking natural light to enter your filming area
- The bulbs to create a dimmer or brighter light
- A lightbox that can help maximize the brightness of the scene
- Using halo lamps for filming close-ups as the primary light
- Use a natural light scenario
Editing Software
If you choose to edit your videos on your own, you can evaluate whether to use paid or free editing software, consider which type is available for your computer. There is a wide variety in the market that goes from free apps to expensive software. Choosing the right editing solution will help achieve success, depending on your skill level, needs, and budget.
The Best Places to Set Up Your Video Studio at Home
There are a few things to consider when selecting your filming area:
- Is the area accessible and adequate for setting up and storing the equipment
- Is the lighting sufficient and practical for adapting the light setup
- Does it have a good acoustic for filming?
- Is it easy to set up the filming equipment?
If you are going to be filming outdoors for a gardening show, you will need to set the space up for the shooting, same if you are planning to do a cooking show, you’ll need to set up your kitchen as your filming area. For example, if you will be doing a Yoga class in a spare room, a shed or a garage, set up your ideal Yoga space to convert it into your new filming studio. If you are tight in space, you can even arrange the corner of a room, hang some art, a backdrop or place some sound-absorbing panels to make it look like a dedicated space. Still, the most important thing to consider is to keep the area clean and organized and make sure that it’s not a very distracting spot.
Social Content Planning Tips
If you don’t have a plan, your content can lack structure and coherency. These are a few tips for planning your content:
- Always have a content calendar with a social content weighing strategy where you mark in advance which topics you want to cover and prepare accordingly.
- Create storyboards that will help planning out the structure of the video from beginning to end
- Create stories for your social media channels using short clips taken from the finished video to promote content on different platforms.
- Stay up to date with trending topics check out your favorite brands and influencers to know what’s of interest to your audience.
- Animate your viewers to like and subscribe. Ask your viewers for feedback and to opt into your newsletter or mailing list.
- Interact with subscribers. When someone writes a comment for you, always reply!
- Start collaborations with other influencers. Partner up with an expert on the topic you are covering or with another influencer that can give a different point of view.
- Create an online course or give an online class covering essential topics in your field of expertise. This will expand your audience and engage more subscribers.
As you can see, with some planning and craftiness, and investing in the right tools for your needs, anyone can create professional-looking videos.
For brands, the opportunity has never been greater to gain access to and leverage this high-quality and engaging content created by fans, customers, and users. Request a demo of TINT to learn more.


